FAQ Series: How to make a Cord Tag
Let’s Make a Cord Tag!
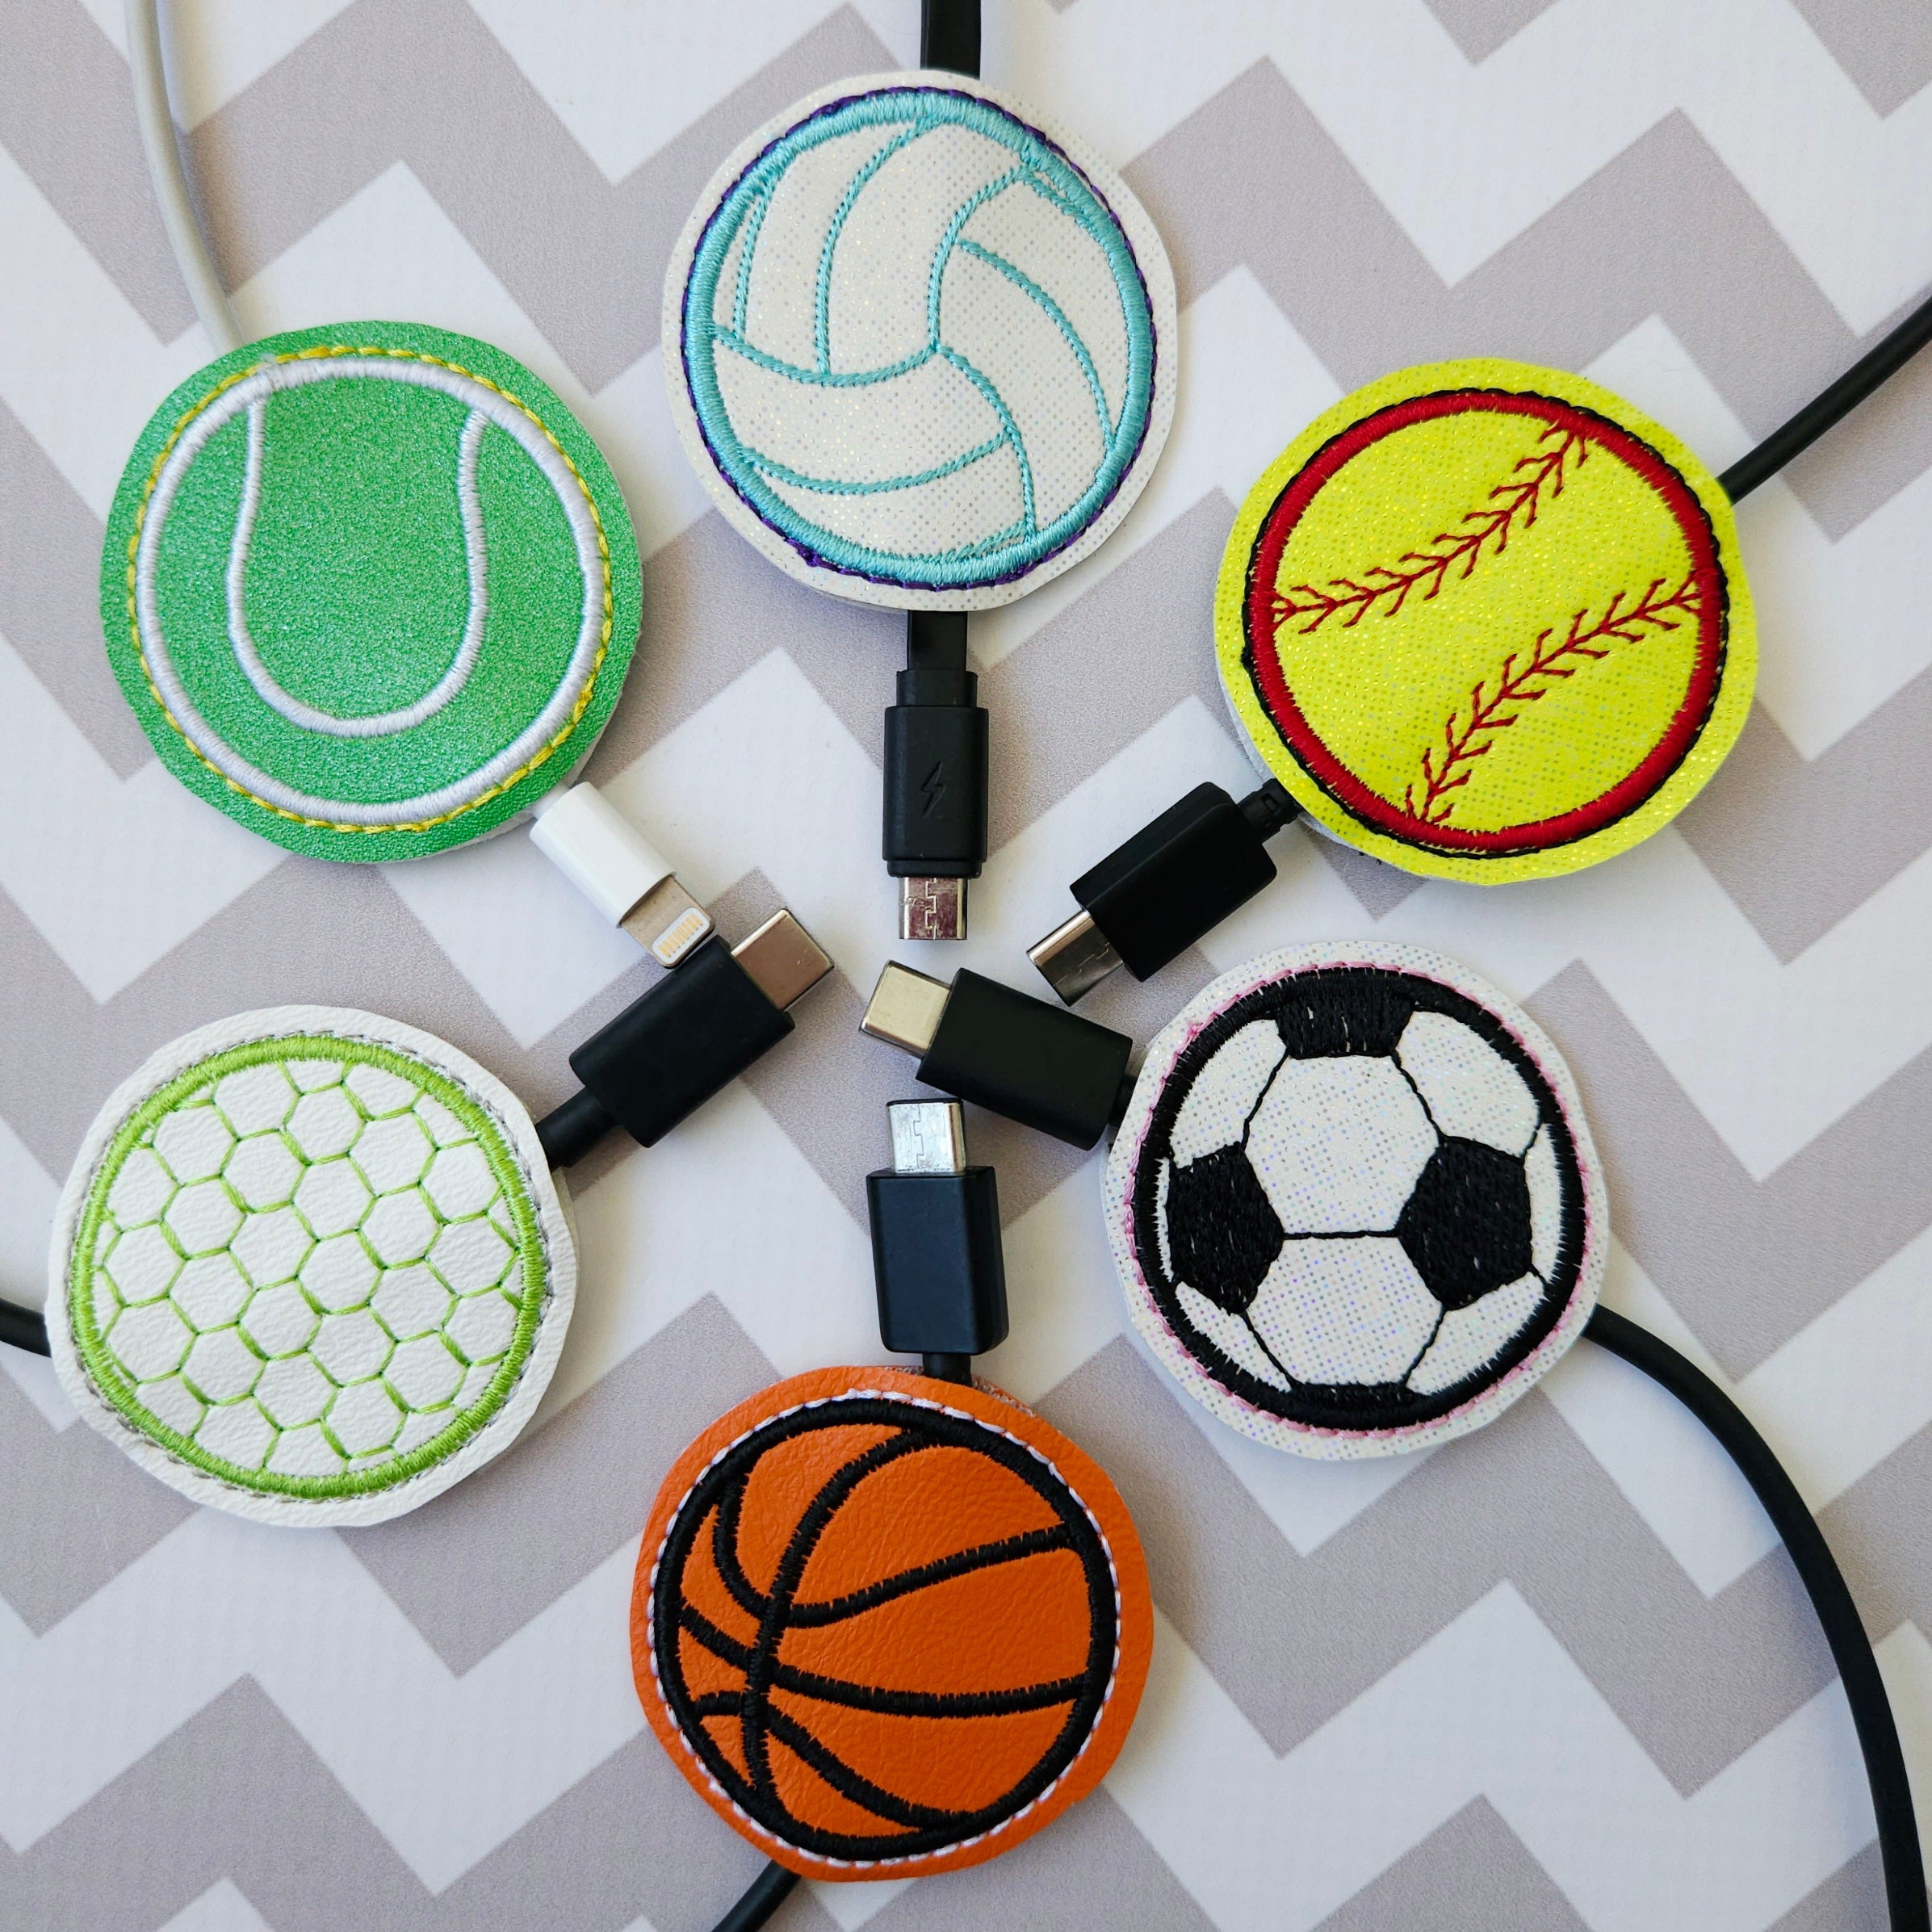
Do you have miscellaneous device charging cords lying around your house? Or perhaps you’ve had a charging cord borrowed by a family member and had to find it so that you could charge your own device? Parker on the Porch cord tags are a perfect way to identify device cords while also adding a “POP” of color and fun!

Supplies Needed
- POP! Cord Tag Designs- The Baseball/Softball Cord Tag was used in this blog.
- Felt or vinyl- Either works great!
- Tear-away stabilizer
Time to make a cord tag!
-
Hoop one sheet of tear-away stabilizer. If your vinyl or felt is especially thin, you might want to use two sheets of tear-away stabilizer.
-
Run Step 1, the placement stitch. This will show you where to place your felt or vinyl. Vinyl was used for this tutorial
-
Lay your vinyl or felt on top of your hoop covering the placement stitches. Be sure you have about an inch around the perimeter of the design outline so you have plenty of space for trimming later! Secure your vinyl with tape.
-
Run the design element steps of the cord tag of your choice. For the softball cord tag, this is steps 2-3. The number of design element steps will vary by design.
-
The second to last step of the cord tag design (step 4 for the baseball/softball cord tag), stitches the beginning of the outline of the design which will be completed during the final step. In the picture below, the black stitching at the top and bottom of the softball show what stitches out during step 4 of this design.
-
BEFORE running the final step, turn your hoop over and cover the BACK of the design with felt or vinyl and secure it with tape on the perimeter. For all POP Cord Tag designs, place your vinyl or felt on the back of the hoop covering the design BEFORE running the final step.
*Helpful Tip: If you prefer to use vinyl for the back of your cord tag, slide an extra piece of tear-away stabilizer under your hoop before running the final step. This will help prevent the vinyl from sticking to the bed of your machine.* (If you look closely at the picture below, you can see the extra sheet of tear-away stabilizer placed between the bottom of the hoop and the bed of the embroidery machine .)
- Run the final step. This step will complete the rest of the outline of the cord tag design on the front. It will also attach the vinyl on the back of your hoop to the vinyl on the front, while leaving an opening to slide the device cord through.
- Remove from the hoop, tear away the excess stabilizer, and trim around the perimeter of your cord tag.
